
3 techniques to improve your alignment in yoga poses
Stefanie | September 9, 2018
0 Comments
“Okay, turn the big toe outward by 12°, stretch your arm down more and don’t let your body tilt to the side!” This may sound a bit exaggerated but can certainly be heard in many yoga classes in similar form. Of course, anything can be taken to an extreme. But a few basic alignment principles are important for more stability and pose integrity. Here you’ll learn three techniques that can help improve the form of your yoga poses.
Not only beginners struggle with alignment—especially when we reach a more intermediate level, we may not pay as much attention to our alignment because we feel like we know the basics already.
But small adjustments to our alignment can make a big difference.
Let’s take a quick look at the 3 techniques:
#1 Vertical and horizontal alignment
In short, the principle is:
“Strain should be distributed in a straight line.”
The straight line refers to vertical and horizontal alignment.
Let's take Plank pose as an example.
- In Plank pose, the hands should be directly under the shoulders (vertically).
- The palms of the hands are facing straight (horizontally), which is usually the case when the index and middle fingers are pointing forward.


Your feet and front leg in Warrior II
In a pose with a bent knee, such as Warrior II, the knee is aligned with the ankle (vertically) and the leg is aligned with the ankle and our hips (horizontally).

In some poses, you may be able to instinctively feel that your alignment isn’t straight and adjust your foot position accordingly.
Take the time to figure out what your ideal foot position is for a pose like Warrior II.
You’ll notice that it’s much more difficult to keep your alignment straight if your feet aren’t spaced far enough apart—the front of your hip will automatically push outwards and you’ll easily lose your balance.
Using a wall can be helpful to get a feeling for how to keep your front leg aligned correctly.

How about your front leg in Triangle pose?
In several standing poses with a straight leg, for example in Triangle, we only have horizontal alignment: The front ankle is facing straight ahead and is in-line with the front knee and our hips.
Check out the front knee in this photo:


#2 Distributing weight evenly
Distributing your weight evenly among all parts of your body that are rooted to the ground is just as important:
In standing poses, make sure to distribute weight equally between the inner ball of the foot, outer ball of the foot and heel.
When you’re in standing poses in which the back foot is turned outward, make sure to place weight on the outer edge of the foot to stabilize the back leg.
Among other poses, this applies to Warrior I and II, Triangle and a variation of Triangle in which the front knee is bent (see picture).

This principle applies also to your hands and seating positions.
For instance, in Plank and Downward-Facing Dog, distribute your weight equally between both feet and your outspread hands.

In seated twists, both your sit bones should be firmly pressed into the ground.
You can think of all the parts of your body that are rooted to the ground as the foundation of a house. A stable foundation is the prerequisite for getting the full benefit out of any pose.
If you apply this technique, your awareness of a firm stance will increase in general—not just while you’re doing yoga.
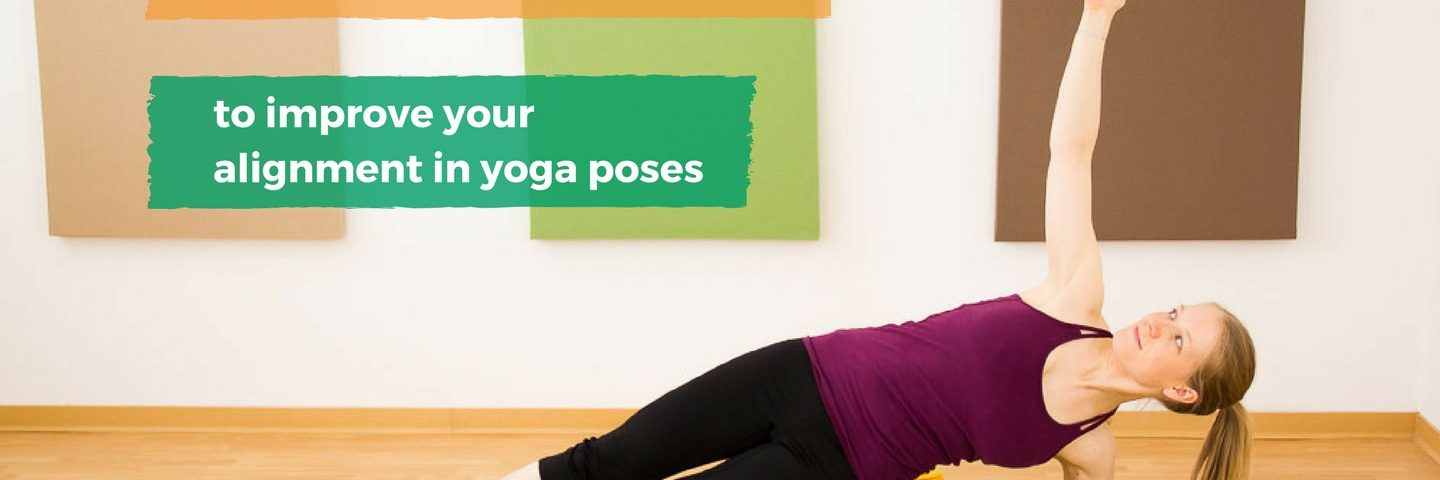
#3 Modifying poses with props
Everyone’s body is built differently: Some people have long legs, a long torso, short arms—everyone has different proportions.
Bone structure also varies from person to person, which means you can practice as much as you’d like—at a certain point you’ve reached your limit.
That’s why not all yoga poses are right for every body-build and should be modified if needed. Blocks and straps are a valuable aid because their use can help improve the stability and integrity of a pose.

I personally like using blocks in the morning because I usually feel a bit stiff and take a little longer to warm up.
If you don’t have a block or strap available, you can use alternatives. A towel or thick sling makes a good alternative for a strap.

In summary
Make sure to pay attention to your straight alignment, vertically as well as horizontally.
A wall can help you get a feel for correct horizontal alignment. When practicing, a mirror (or alternatively a picture) is a good way to check your alignment.
Always distribute your weight equally between the parts of your body rooted to the ground.
And finally: Modify any yoga poses as needed and use props if they help you improve your stability.
Give these techniques a try and feel free to share your experiences here!